ASIN Number Explained: Reverse ASIN Lookup for Sellers

Sarah Johnson
What Is ASIN (ASIN Number) + How Reverse ASIN Lookup Works for Amazon Sellers
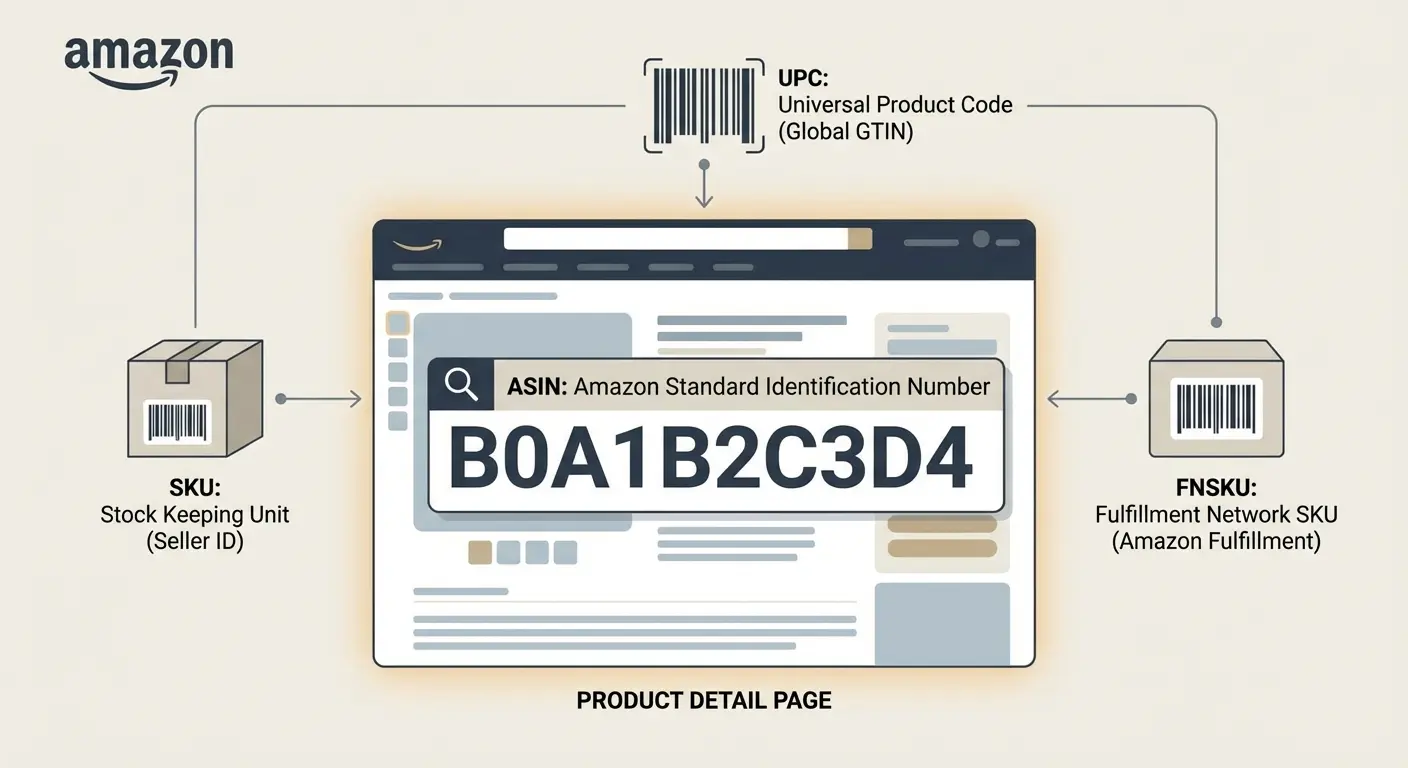
An asin number is Amazon’s identifier for a specific product detail page in a given marketplace, and it isn’t the same thing as your SKU, FNSKU, or a GTIN like a UPC/EAN. Reverse ASIN lookup tools take an ASIN and infer which search terms it appears for by observing Amazon search results at scale. Those outputs are useful for debugging SEO, PPC, and listing changes, but they are not ground truth directly exported from Amazon. Treat ASINs as your unit of diagnosis, and treat reverse ASIN results as directional signals that still require validation.
How it works (mechanism / logic)
An ASIN (Amazon Standard Identification Number) is the unique identifier Amazon assigns to a product detail page within a specific marketplace (for example, Amazon.com vs Amazon.co.uk). Sellers touch ASINs constantly: they appear in listing URLs, Manage Inventory, advertising consoles, and common troubleshooting workflows with Seller Support. The key concept is that an ASIN represents the catalog entity customers shop (the detail page), while your internal identifiers (like SKU) and fulfillment identifiers (like FNSKU) are operational identifiers tied to an offer or inventory.
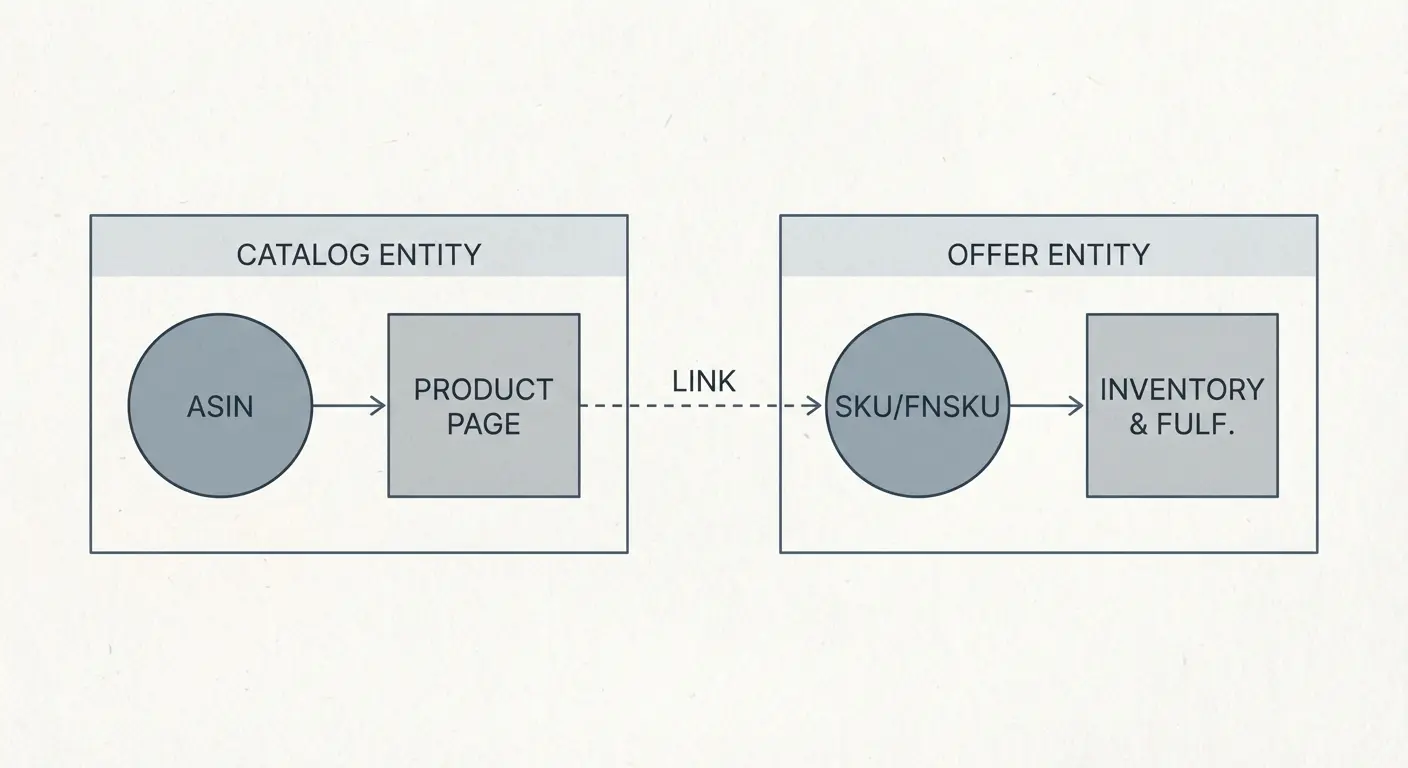
ASIN vs SKU (offer vs catalog)
SKU is your identifier for an offer you control; it can change without changing the ASIN. Depending on how your account is structured, you may run multiple SKUs against one ASIN (for example, separate SKUs for different conditions or different fulfillment channels), or you may keep it one SKU per ASIN for simplicity. When someone says “the listing is broken,” confirm what they mean:
the ASIN’s detail page content (title, bullets, images, A+ content, attributes),
the offer (price, inventory, shipping promise, buy box eligibility), or
the scannable/fulfillment label layer (FNSKU/barcode setup, including commingling settings where applicable).
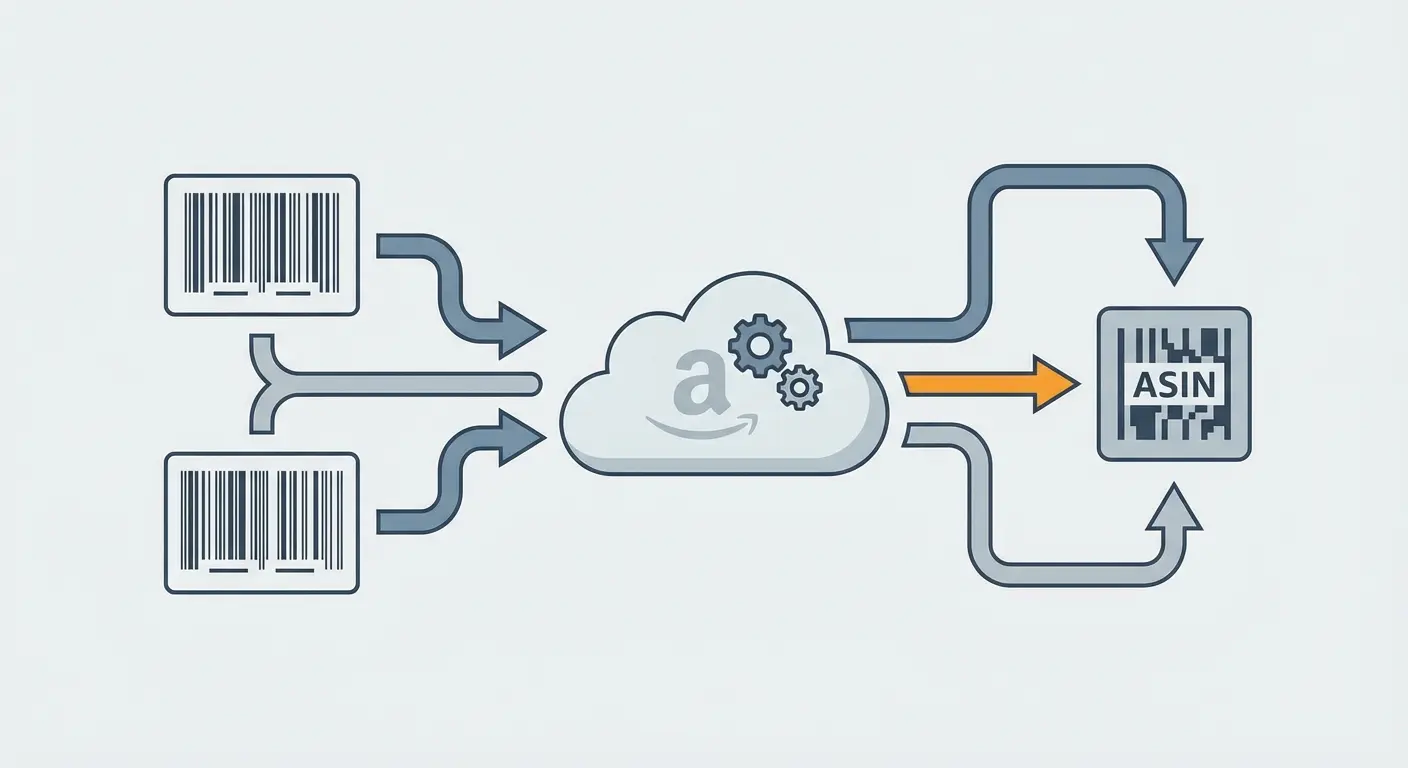
ASIN vs UPC/EAN/GTIN (creation and matching)
A UPC/EAN/GTIN is a global product identifier; an ASIN is Amazon’s internal identifier. When you create a product or match to an existing one, Amazon can use multiple signals (including GTIN where provided, brand, and product attributes) to determine whether to attach your offer to an existing ASIN or create a new one. If GTIN exemptions are used for products that should carry a valid GTIN, or if an incorrect GTIN is provided, you can trigger problems such as duplicate ASINs, incorrect attribute sets, or variation families that don’t behave as expected. Not every catalog issue is caused by GTIN problems, but it’s a common fault line that’s worth checking early.
Parent/child ASIN behavior (variations)
Variation families typically include a parent ASIN (generally non-buyable) and child ASINs (buyable variants). Reverse ASIN lookup tools often report rankings and visibility at the child level, while sellers sometimes assume the parent “owns” the traffic. If you optimize copy around a parent-level theme but your best-selling child has missing or suppressed attributes, the results can diverge from your spreadsheet expectations.
What reverse ASIN lookup really measures
Reverse ASIN lookup is a method to infer which queries Amazon associates with an ASIN by running many searches and recording where (or whether) the ASIN appears in results. Some tools try to control for factors like location, device type, and personalization, but the environment is never perfectly neutral because search results can still be influenced by delivery promise, stock status, Prime eligibility, and other contextual signals. Tools also mix concepts that are easy to confuse:
indexed for: the ASIN is eligible to surface for the term under some conditions,
ranks for: the ASIN appears at specific positions with some consistency in the tool’s checks,
visibility/share: an aggregate estimate based on observed positions and estimated search volume.
Expectation vs reality: reverse ASIN lookup does not produce “the keywords Amazon knows you for.” It produces “the keywords this tool observed you showing for under its test conditions,” which is still useful as a prioritized investigation queue for relevance, PPC harvesting, and competitor mapping.
Seller insight (decision rule): if a reverse ASIN lookup term doesn’t reproduce in a manual incognito test and doesn’t show up over time in Search Query Performance or Brand Analytics (where available), treat it as low-confidence until it appears in repeatable rank checks or in your ad search term reports.

Recommended Keyword Research Workflow
If you would rather see the tool in action, you can watch the full video overview here - Keyword Research Overview
Follow these steps to turn raw data into a winning SEO and PPC strategy:
Step 1: Launch Keyword Research
Head to the Tools menu and select Keyword Research.
You have three distinct paths to choose from:
Keyword Search: Type a generic term (e.g., "running shoes") to gather broad market ideas.
Single ASIN Audit: Paste a specific ASIN to deep-dive into a single listing's performance.
Niche Analysis (Recommended): The most powerful option. Here, you enter a list of competitor ASINs to analyze the market as a whole. If you don't have a list yet, proceed to Step 2.
Step 2: Automate Competitor Discovery
If you don't have a curated list of rivals, let the tool do the heavy lifting for you:
Enter your main ASIN into the input field.
Instead of hitting search immediately, click the Get Competitors button.
The tool will scan the market and suggest your most relevant rivals. Select the top performers (e.g., the top 5) and click Add Competitors.
Finally, click Get Keywords to pull a comprehensive dataset for the entire group.
Step 3: Filter Out the Noise
Once the data loads, you’ll likely see thousands of keywords. Most are irrelevant. You need to isolate the "winners."
Open the Filters panel at the top.
Set criteria to find high-impact terms.
Pro Tip: Set Minimum Search Volume to 500 and Competitor Organic Rank between 1 and 20.
Click Apply Filters. This transforms a messy list of thousands into a concise list of high-value targets.
Step 4: Visualizing the Battlefield (Gap Analysis)
Now, let’s see exactly where you are losing money to the competition.
Toggle the Matrix View switch above the table.
The table transforms into a color-coded grid:
Green: The competitor is dominating the top spots.
Red or Dash: The product is invisible for that keyword.
Perform a Gap Analysis: Look for rows where your competitors are all in the green (ranking well), but your column shows a dash. These are your missed opportunities—keywords where the market is finding your rivals, but not you.
Step 5: Save and Deploy
Don't waste time manually copy-pasting data. Turn your insights into action efficiently:
Select the high-potential keywords you’ve uncovered using the checkboxes.
Add them to your Bright List—your "strategic vault" for organizing keywords by project.
Alternatively, click Export to download a clean Excel or CSV file, ready for direct upload to your Amazon advertising console.
Checklist
Phase 1: Setup & Data Collection
[ ] Launch Tool: Go to
Tools>Keyword Research.[ ] Input: Enter your main ASIN into the search field.
[ ] Find Rivals: Click Get Competitors (do not hit search yet).
[ ] Select: Choose the top 5 most relevant competitors from the suggested list.
[ ] Execute: Click Add Competitors then Get Keywords.
Phase 2: Filtering (The "Winners" Criteria)
[ ] Open Filters: Expand the filter panel.
[ ] Search Volume: Set Minimum to
500.[ ] Rank: Set Competitor Organic Rank to
1min /20max.[ ] Apply: Click
Apply Filtersto refine the list.
Phase 3: Analysis & Action
[ ] Visualize: Toggle the Matrix View switch.
[ ] Identify Gaps: Find rows where competitors are Green (Ranking), but your product is a Dash (Not Ranking).
[ ] Select: Check the boxes for these high-opportunity keywords.
[ ] Export: Save to Bright List or click Export for PPC implementation.