How to Create an Amazon Storefront in 2025

Olivia Reyes
How to Create an Amazon Storefront in 2025: A Practical Guide for Brand Builders
Most Amazon sellers treat their Store as a design project. The profitable ones treat it as a traffic and conversion asset.
If you’re trying to figure out How to Create an Amazon Storefront in 2025, the mechanics are straightforward. The leverage comes from how you structure it, how you route traffic to it, and how you use it to increase average order value and repeat purchase behavior. This guide covers the technical steps plus the strategic decisions that separate a basic Store from a revenue-driving one.
What an Amazon Storefront Actually Is (and What It Isn’t)
An Amazon Store (often called a Brand Store) is a multi-page branded destination on Amazon that eligible brand owners can build using Amazon’s Stores tools. It is typically associated with brands enrolled in Amazon Brand Registry and is accessed through Seller Central or Vendor Central, depending on how the brand sells on Amazon.
It is not:
A replacement for your listings
A standalone ecommerce site
A guaranteed shortcut to organic ranking
It is:
A curated brand experience inside Amazon
A common destination for Sponsored Brands traffic
A way to control merchandising across your catalog within the Store environment
When sellers ask how to make amazon storefront pages profitable, they’re usually thinking about design. The more durable lever is merchandising. Within your Store, you control product adjacency and page layout, although shoppers can still navigate away and outcomes depend on traffic quality and product-market fit.
The Non-Negotiables Before You Start
Before you can begin amazon store creation, confirm eligibility and access. Requirements can vary by region and account type, but most experienced sellers will run into these two gates.
Brand Registry Enrollment (Common Requirement)

For most sellers, Brand Registry is the practical requirement to access Stores. Brand Registry generally requires a trademark and completion of Amazon’s verification process.
Brand Registry can also unlock features such as:
A+ Content (where available and eligible)
Sponsored Brands (subject to eligibility and policy compliance)
Brand Analytics (subject to eligibility)
Store Insights reporting
If you are serious about long-term brand building, Brand Registry is usually foundational.
Professional Selling Plan (Typical for Seller Central Brands)
Many sellers will need a Professional selling plan to access brand tools in Seller Central. If you do not see the Stores option, verify your selling plan, brand ownership, and marketplace eligibility in your account.
Once access is active, you can find Stores in Seller Central navigation (often under the Brands menu, depending on your interface).
How to Setup Amazon Storefront: The Build Process
The mechanics of how to setup amazon storefront are simple. The decisions inside each step are where most sellers underperform.
Step 1: Start the Store Build
In Seller Central, the path can differ slightly by account layout, but the workflow generally looks like this:
Open Stores (or Stores builder) in Seller Central
Choose the correct brand
Select the option to create a new Store
You will enter the Store builder.
At this point, you typically add:
Brand display name
Logo
Keep the brand name clean. Avoid taglines, calls to action, pricing language, or promotional claims in fields meant for the brand name.
Step 2: Choose a Homepage Template
Amazon offers templates such as:
Marquee
Product Highlight
Product Grid
Blank
Choose based on catalog size and how you want shoppers to navigate.
Small catalog (1 to 5 SKUs):
Use Product Highlight and keep focus tight.
Mid-size catalog (5 to 20 SKUs):
Marquee often works well. Structure by use case or category.
Large catalog:
Start with Blank and build intentionally. Avoid dumping every SKU on one page.
Your homepage is not inventory storage. It is a guided entry point with clear navigation.
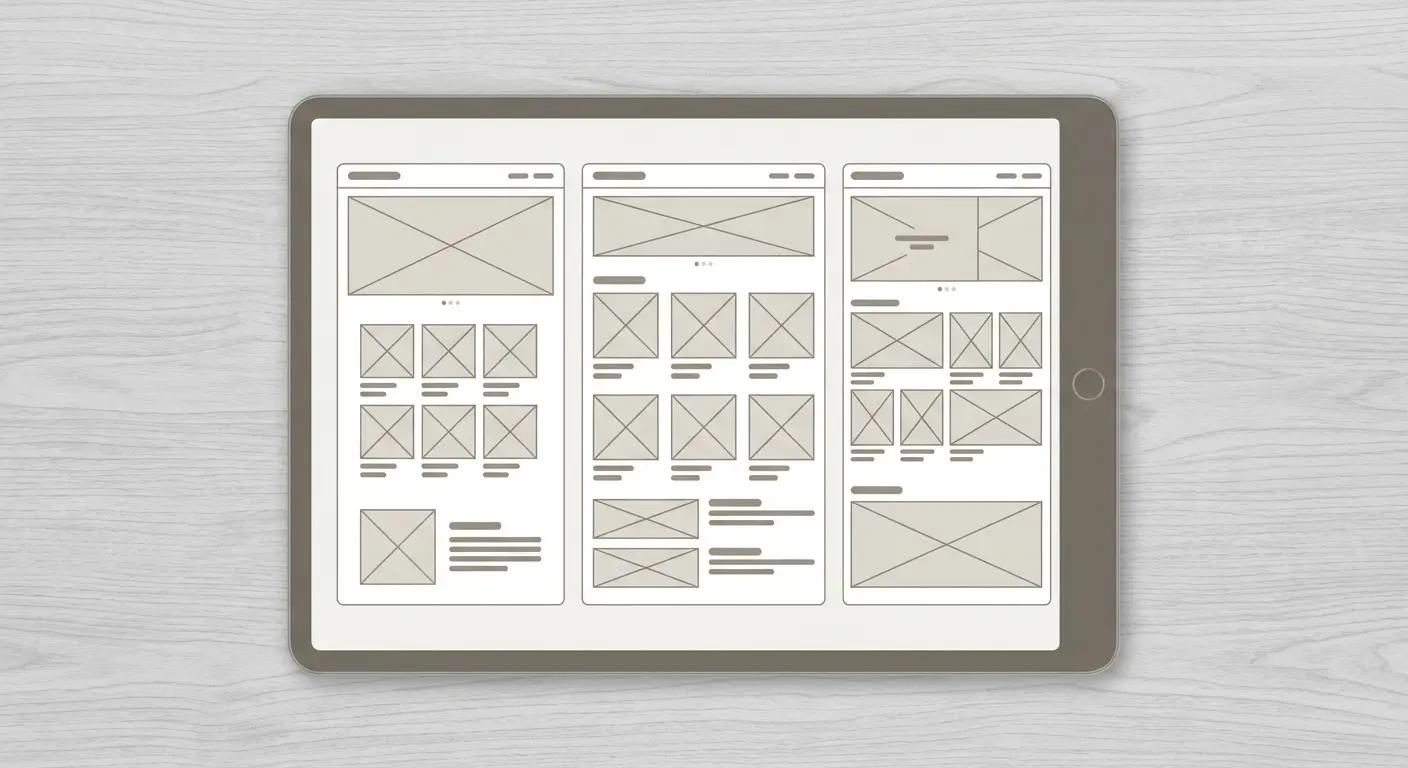
Step 3: Structure Your Pages Intentionally
You can create multiple pages and subpages. This is where Store performance is often won or lost.
Instead of organizing strictly by product type, consider organizing by:
Use case (for example, “Travel Setup,” “Home Office Essentials”)
Customer segment (for example, “For Beginners,” “Pro Series”)
Price tier (for example, “Starter,” “Premium Line”)
Problem solved
Shoppers usually think in outcomes, not SKU counts. More pages can help when navigation is clear and each page has a purpose. More pages can also hurt if the menu becomes cluttered.
Step 4: Add Products and Content Tiles

Inside each page, you can add modules such as:
Product grids
Shoppable images
Image plus text sections
Video (subject to eligibility and asset requirements)
Text blocks
A practical rule is to alternate between visual proof and product selection. For example:
Lifestyle banner
Short explanation of the primary benefit
Product grid
Comparison or “shop by need” section
Avoid stacking multiple product grids back to back without context. That often reduces engagement and makes it harder for shoppers to decide.
If you already invested in strong A+ Content, keep your Store messaging consistent with your listings and brand voice.
Step 5: Optimize for Mobile First

A large share of Amazon traffic is mobile, and Stores are frequently viewed on phones. Use the preview tools in the builder to check mobile layout.
Mobile adjustments that tend to matter:
Shorter headers
High-contrast text
Avoid tiny text embedded in images
Place key products higher in the scroll order
On mobile, content stacks vertically. If your best sellers appear after multiple large banners, you may be wasting attention.
Step 6: Review and Submit
Before publishing:
Proofread every page
Verify every product link
Confirm images meet Amazon’s current Stores creative guidelines
Remove prohibited claims and restricted content, especially in regulated categories
Review times vary by marketplace and workload. Some Stores are reviewed quickly, while others can take longer.
After approval, your Store receives a shareable URL. Use it where allowed and appropriate, including Sponsored Brands destinations and other approved marketing placements.
Where the Store Actually Drives Revenue
Understanding how to create amazon store pages is one thing. Understanding how they generate profit is another.
Sponsored Brands to Store, Not Always to a Single ASIN
Instead of sending Sponsored Brands traffic to one listing, consider sending it to a curated Store page when the shopper intent is broader than a single product.
This can help you:
Increase cross-sell exposure
Control product hierarchy within your brand environment
Route shoppers to the best-fit option faster
Results vary by category, price point, and ad targeting, so test Store destinations against ASIN destinations.
External Traffic Control
If you run external marketing, such as:
Meta ads
TikTok ads
Influencer campaigns
Email campaigns
A Store page can function as an Amazon-native landing page with flexible merchandising. You can feature bundles, highlight new launches, and direct shoppers to seasonal collections without rebuilding off-Amazon landing pages.
Always ensure your traffic sources, creatives, and claims comply with Amazon policies and any category-specific requirements.
Cross-Selling and AOV Expansion

Inside your Store, you decide what sits next to what. Use that control to make logical next steps easy:
Refills near core products
Accessories near primary SKUs
Premium upgrades next to entry models
Customers often buy what is easiest to understand and compare.
Three Short Scenarios That Show the Difference
Case 1: Single-SKU Brand
Hypothetical example: a brand selling one ergonomic pillow.
A basic Store can add limited value. A stronger structure can still help:
Page 1: Sleep education and problem framing
Page 2: The pillow and key differentiators
Page 3: Related accessories (cases, travel version), if applicable
Even with one core SKU, the Store can act as an education funnel.
Case 2: 12-SKU Supplement Brand
Common mistake: one grid with 12 bottles.
Improved structure:
Daily Essentials
Performance
Recovery
Bundles
Now Sponsored Brands ads for a specific need can land on a targeted subpage instead of a generic catalog. For supplements, be especially careful with claims and comply with Amazon’s policies for restricted products and health-related statements.
Case 3: Seasonal Product Brand
Instead of rebuilding listings for holidays, a brand updates the Store homepage banner and featured sections for events like:
Prime Day
Back-to-school
Black Friday
Q4 gifting
This can support merchandising changes without editing individual listings, although listings still need to remain accurate, compliant, and up to date.
Common Mistakes Sellers Make
Treating It Like a Graphic Design Project
Clean design matters. Conversion structure matters more. A beautiful Store with no hierarchy is decoration.
Overloading the Homepage
If everything is featured, nothing is featured.
Prioritize:
Top sellers
High-margin SKUs
Strategic products, such as launches you are actively supporting
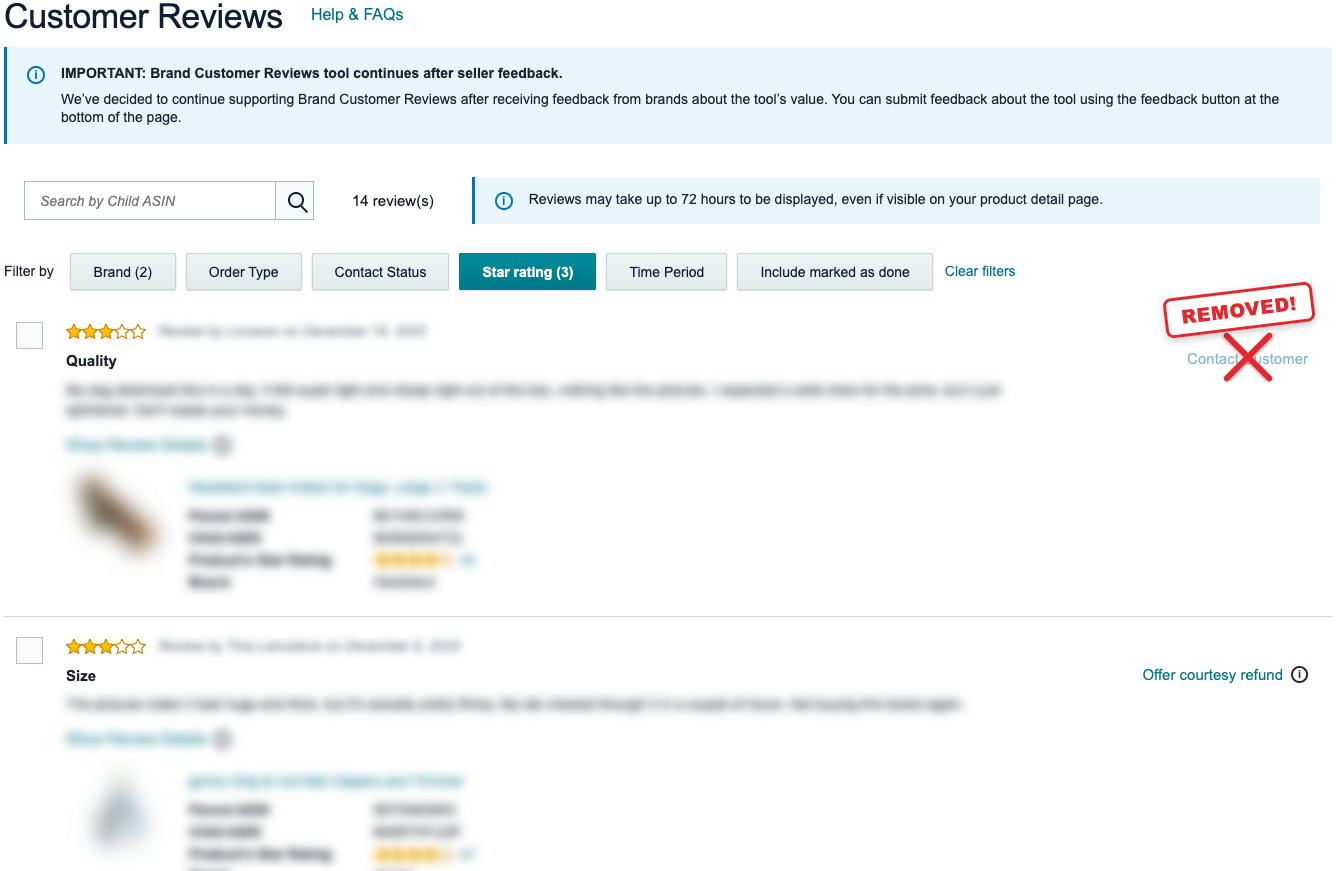
Ignoring Analytics
Store Insights can show metrics such as traffic, page views, and attributed sales. If a page gets traffic but low attributed sales, your merchandising, page intent, or product mix may be misaligned. Also confirm the traffic source is landing on the page you think it is.
Forgetting to Update
Stores that stay static often get stale. Refresh banners, navigation, and featured products regularly, especially around major events and new launches.
Where Storefront Strategy Has Limits
An Amazon Storefront can be powerful, but it does not:
Automatically improve organic ranking
Replace listing optimization
Guarantee conversion lifts
If your listings are weak, your Store usually cannot compensate. If you drive little Sponsored Brands or external traffic, Store impact may be limited because many shoppers will not visit Stores unless prompted by ads, brand links, or deliberate navigation.
For very small brands with one low-ticket SKU, the incremental return from a complex Store may be minimal. In that situation, prioritize listing quality, pricing strategy, inventory health, and compliant review acquisition practices.
Influencer Storefront vs Brand Store: Know the Difference
The term “Amazon Storefront” can refer to two different things:
Influencer storefronts (Amazon Influencer Program)
Brand Stores built through the Stores builder for eligible brand owners
They are not the same.
Influencer storefronts:
Curate products sold on Amazon, including products from many brands
Earn affiliate commissions through qualifying purchases
Brand Stores:
Showcase a brand’s catalog and brand story
Support direct product sales for that brand
If you are a brand owner asking how to create amazon storefront assets through Seller Central, you are generally building a Brand Store through the Stores builder, not the Influencer dashboard.
The Strategic Lens for 2025
Competition on Amazon increasingly rewards sellers who manage the customer journey inside the platform.
Your Store can help you:
Expand branded real estate for your catalog
Reduce distraction within the Store experience by keeping shoppers inside your brand environment
Increase catalog exposure through intentional navigation
Improve merchandising logic and cross-sell paths
The sellers who tend to benefit most are those running Sponsored Brands, managing multi-SKU catalogs, and routing external traffic to curated Store pages. If you are not intentionally sending traffic to your Store, you are likely underusing it.
Key Takeaways for Serious Sellers
An Amazon Storefront is a merchandising and traffic tool, not just a design asset.
Brand Registry and appropriate account access are typically required for amazon store creation.
Structure pages around use cases and outcomes, not just SKU categories.
Sponsored Brands and external traffic often perform better when routed to the right Store page, not always a single ASIN.
Optimize mobile layout first.
Refresh the Store regularly around major shopping events.
If you still need clarity on how to make amazon storefront navigation convert, start with one clean homepage, two to five focused subpages, and a clear best-seller path. Then iterate using Store Insights.
For teams documenting process, a simple internal SOP that covers how to create amazon store layouts and how to setup amazon storefront updates will keep your Store from becoming a neglected brochure.