Managing members and accounts

Olivia Reyes
The Organization Management panel has four tabs: Members, Accounts, Settings and Billing. This article covers Members and Accounts.

Roles
Role | What they can do |
|---|---|
Owner | The user who created the organization. Has full access to the organization and all its accounts. |
Admin | Full access to all accounts by default. Can invite and remove members, manage members' access, manage accounts and organization settings. |
Member | Access is set for each account separately: No Access, Read or Full. |
Members tab
The Members tab lists all users in the organization. Here you can invite and remove admins and members and manage their access.
Invite a member
Click Invite Member.
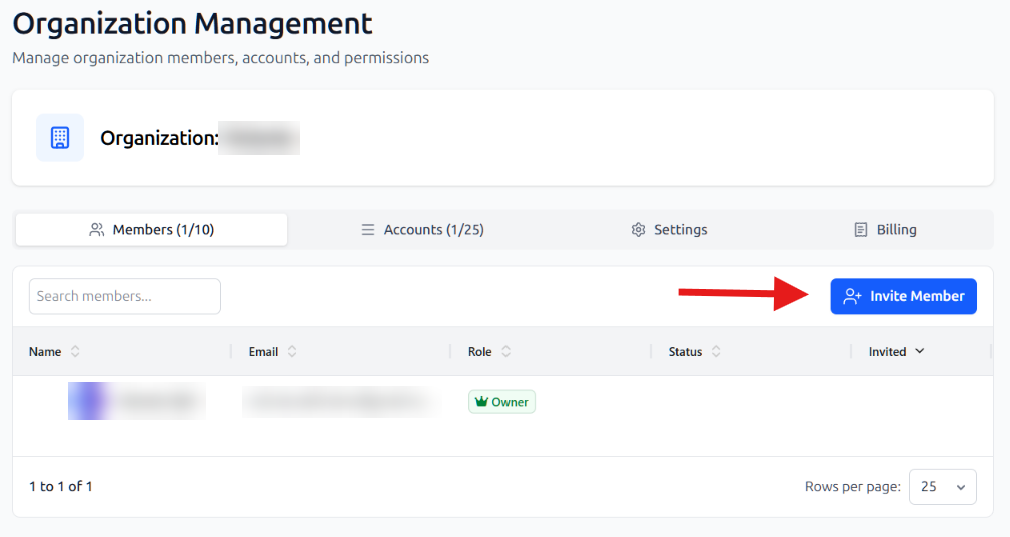
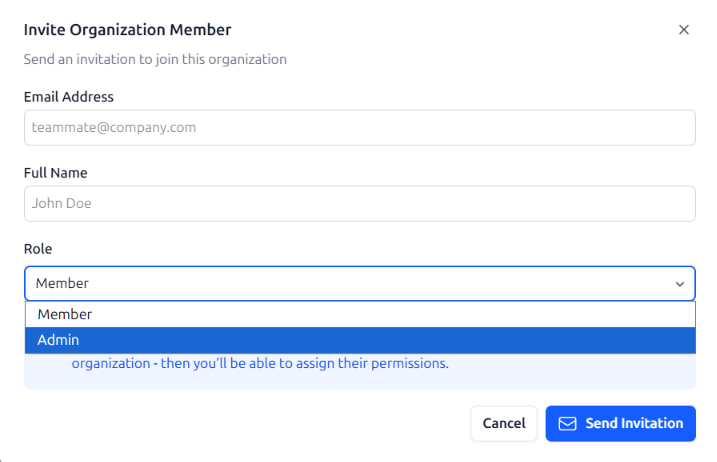
Enter the Email Address and Full Name, then choose a Role: Member or Admin.
Click Send Invitation. The note at the bottom of the form explains what happens next.
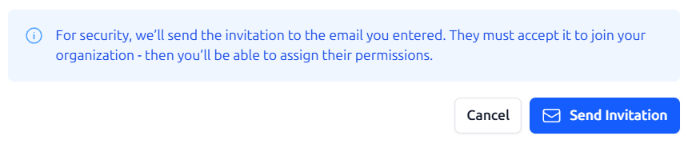
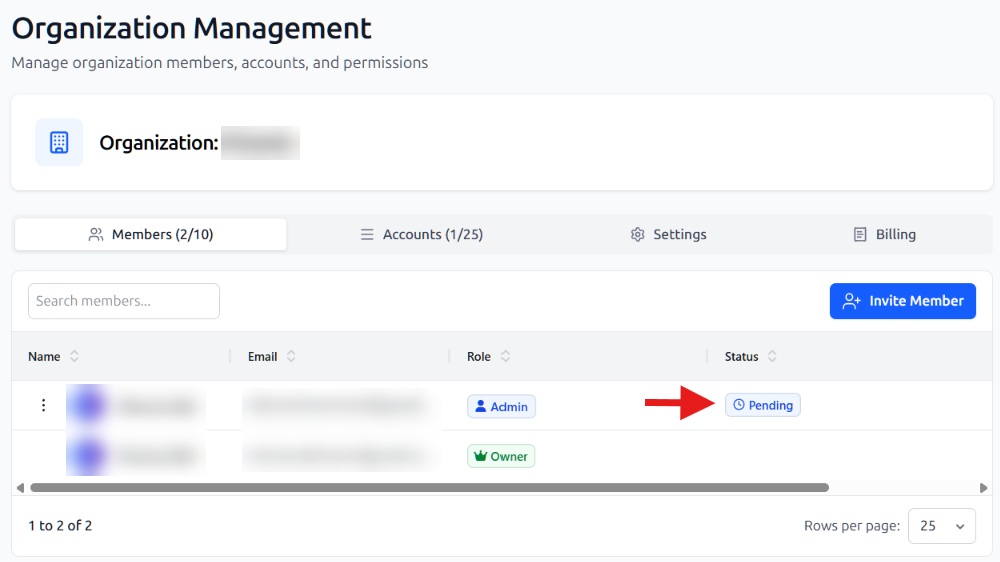
SoldScope sends an invitation with a confirmation link to the email address you entered. Until the user accepts it, their status is Pending.
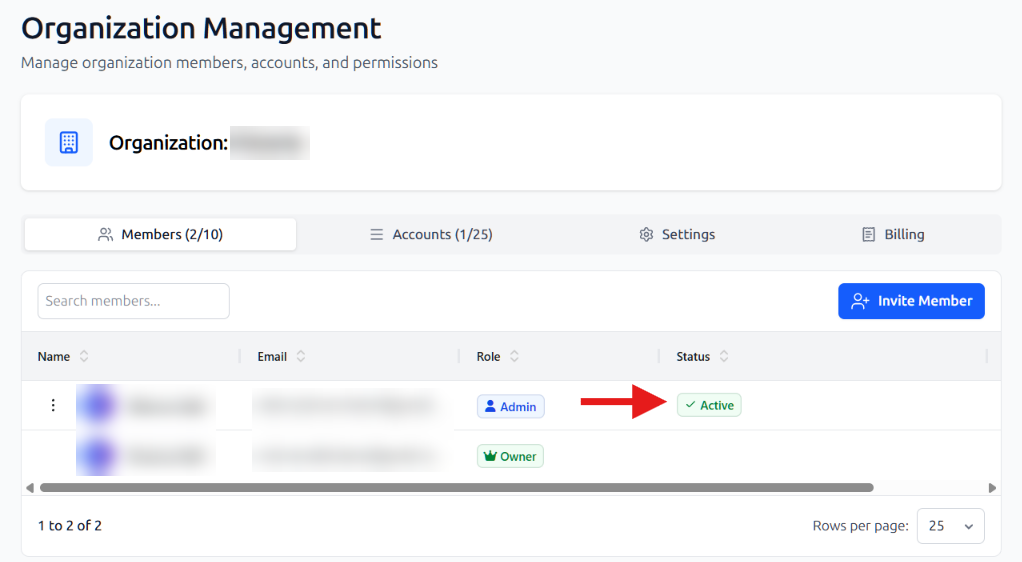
Once the invitation is accepted, the status changes to Active.
Manage a member's access
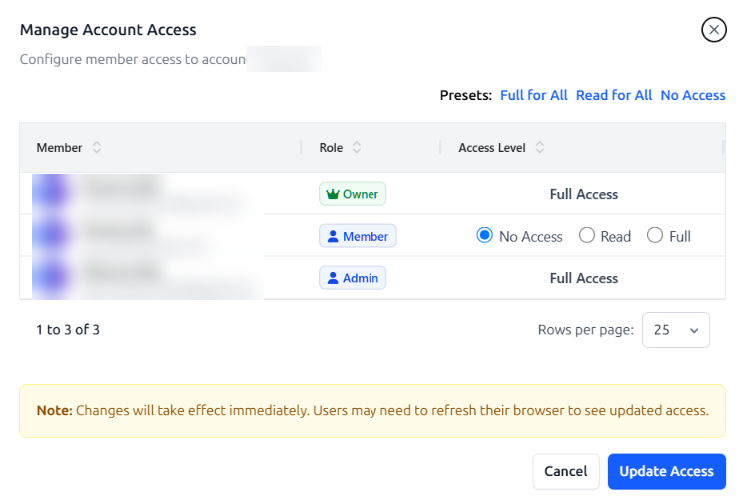
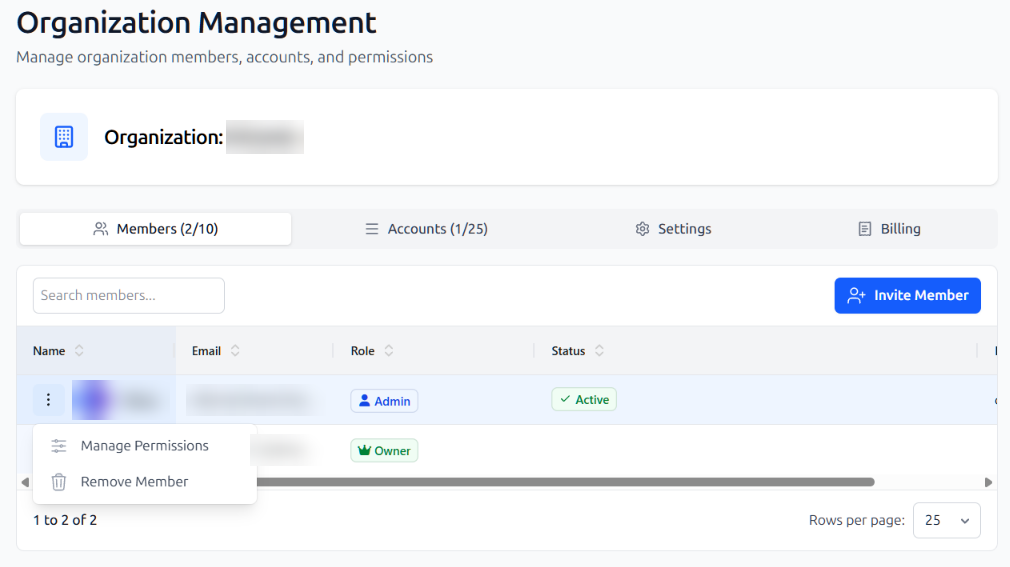
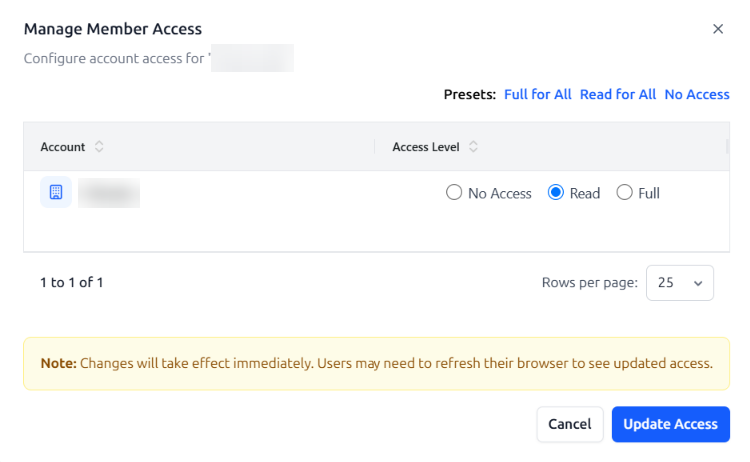
Click the menu icon to the left of the member's name and select Manage Permissions. To remove the user from the organization, select Remove Member.
An admin has Full Access to all accounts by default.
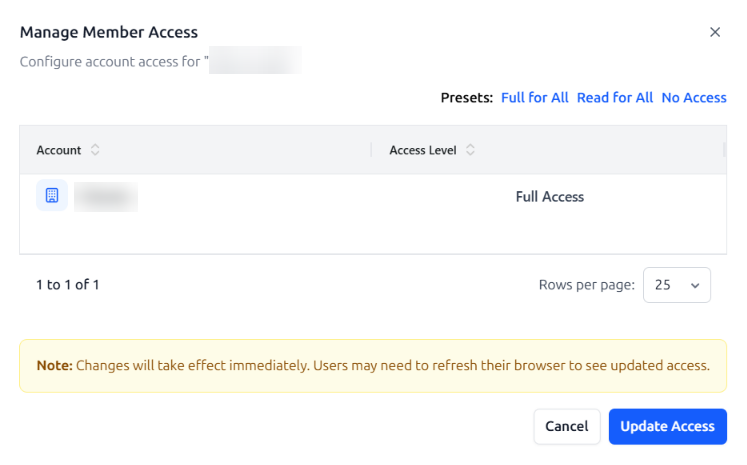
For a member, choose an access level for each account:
Access level | What the member can do |
|---|---|
No Access | Can't switch to or view the account. |
Read | Can switch to the account and view its data, but can't make changes. |
Full | Can switch to the account, view and change its data. |
Use the presets Full for All, Read for All or No Access to set the same level for all accounts at once, then click Update Access. Changes take effect immediately; users may need to refresh their browser to see the updated access.
Switch between accounts
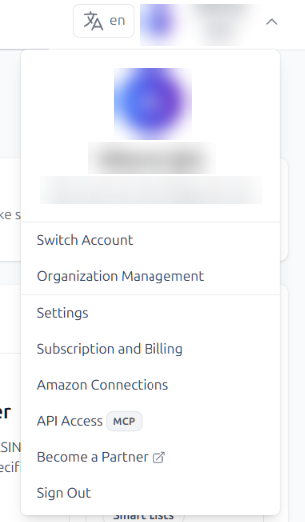
To switch to another account, open the main menu and select Switch Account. Admins also see Organization Management in this menu.
Accounts tab
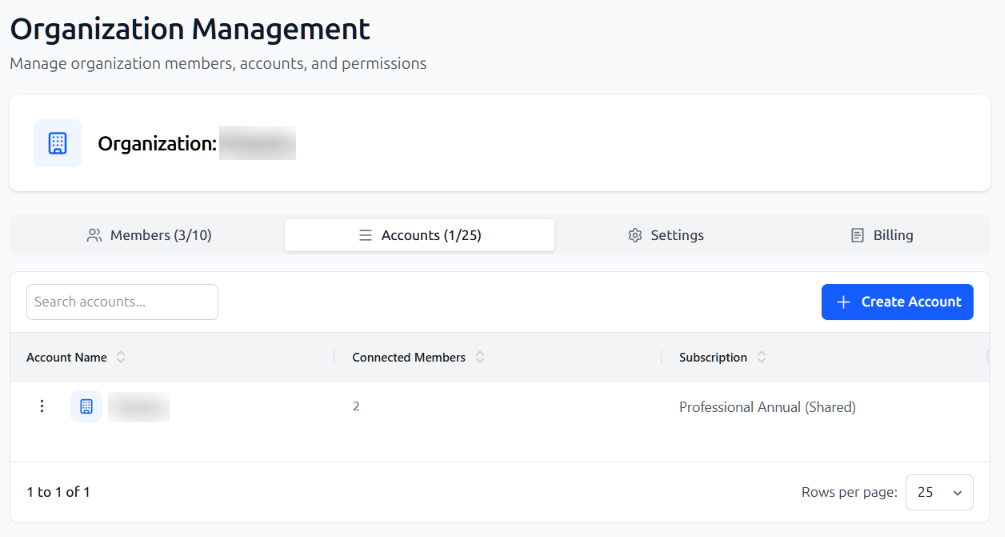
The Accounts tab lists all accounts in the organization, with the number of connected members and the subscription of each account.
Create an account
Click Create Account.
Enter the Account Name and, optionally, upload an Account Logo (PNG, JPG or SVG; recommended size 256×256 px; max 2 MB).
Click Create Account.
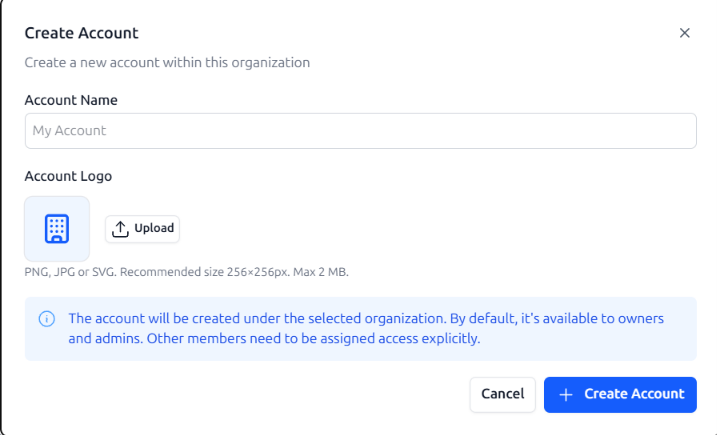
A new account is available to the owner and all admins by default. Other members need to be given access explicitly.
Manage access to an account
Click the menu icon to the left of the account and open its access settings. You'll see all members of the organization and can set each member's access level to this account.